Email filters are useful to create rules to block unwanted emails, based on certain rules you choose. You can specify some rules like a message containing a specific word should be deleted or passed to a specific program. These filters work subsequently, for example, if mail passes through a filter, but can be blocked by another filter. You can specify multiple rules in one filter too.
Through this user-level filter, you can create email filters, which will apply to emails that will be received by that email address.
Create a User Level Filter
To create a user-level email filter, follow these steps −
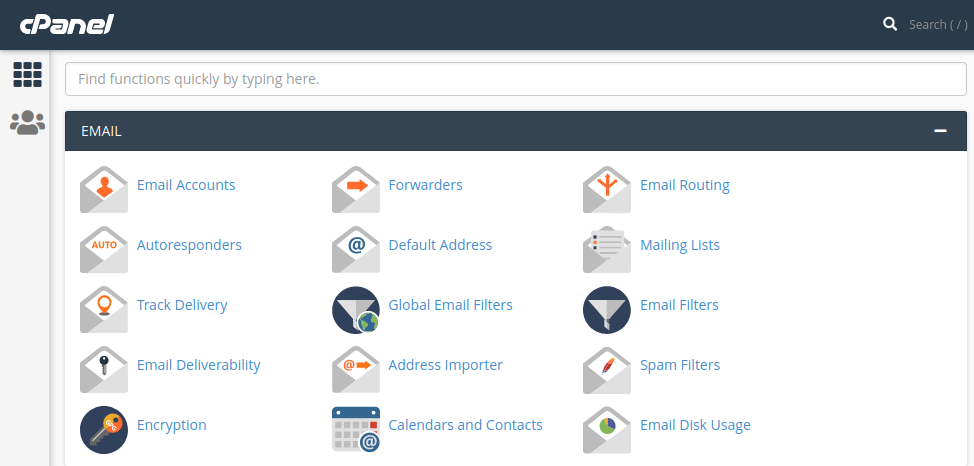
- Open user-level email filters by clicking on the Email Filter found under the Email section of cPanel.
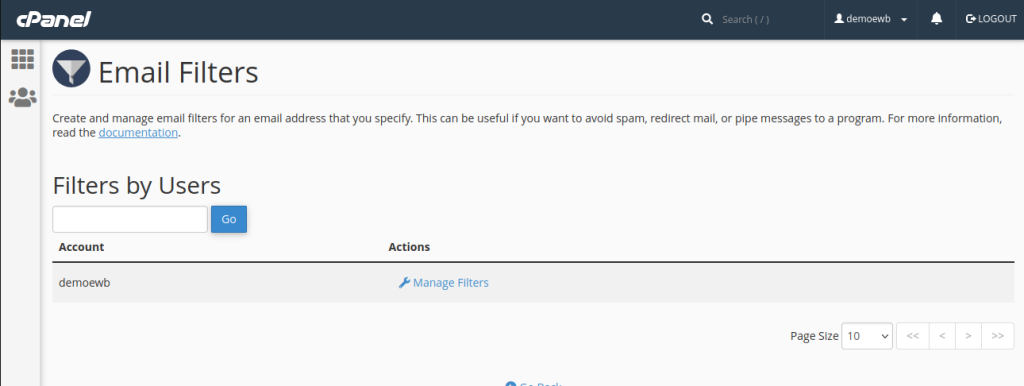
2. In Email Filters, you will see the list of emails associated with your domain. Click on the Manage Filter link corresponding to the email on which you want to create a filter.
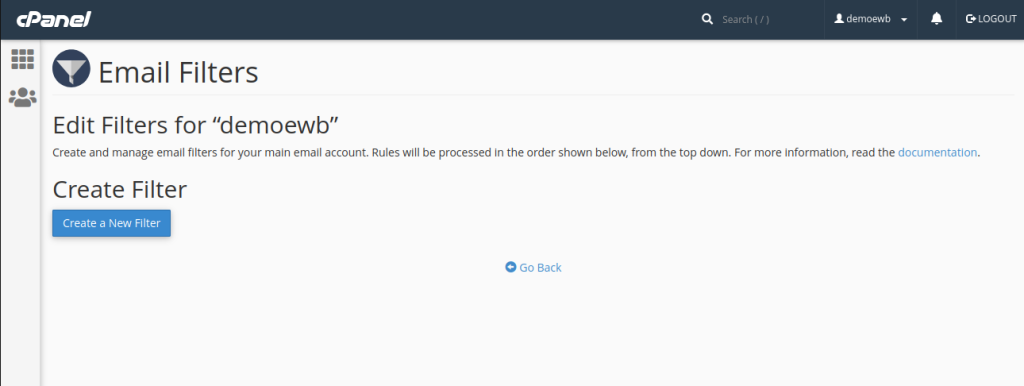
3. Click on Create New Filter button to go to a new filter creation interface.
4. Provide a name for your filter.
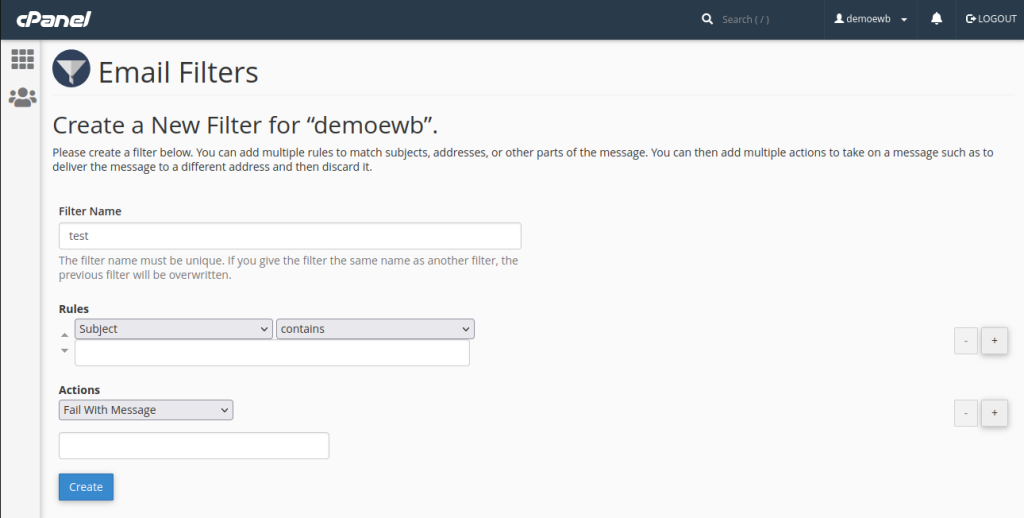
5. Select rules for filtering your message. To add additional rules, click on Add (+) button on the right side, to remove rules click Subtract (–). Also, choose the ‘and’ or ‘or’ rule.
6. Select an Action for a message those passes to the rules of the filter. To add additional rules, click on Add (+) button on the right side, to remove rules click Subtract (–).
7. Click on Create button to create a filter.