PHP upgradation can be easily done directly within WHM’s EasyApache 4 interface. You
can install and update PHP, Apache, and several other components of the Webserver using
this interface.
This article maps out steps to install new versions of PHP via WHM’s
EasyApache interface.
Let’s see the procedure
1.Log into WHM.
2. After logging in, navigate to EasyApache from the search bar and click on it.
3. Select Customize under Currently Installed Packages.

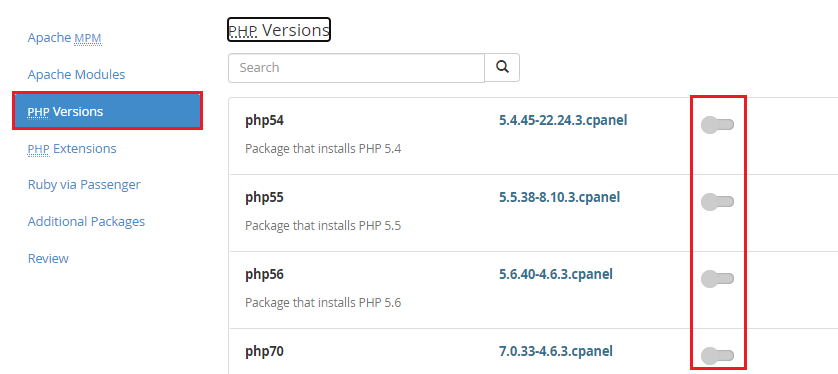
4. Click on PHP Versions. Select the version for installation by clicking the switch icon to the far right of
the version.

5. After enabling the PHP versions you can check the extensions with PHP Extensions and Review the output by selecting Review, to ensure the successful installation of the PHP version you marked.
6. After that, click on Provision, which will install the selected PHP versions.

7. Once the process is completed, you will get the latest version of PHP installed & integrated into the web server.